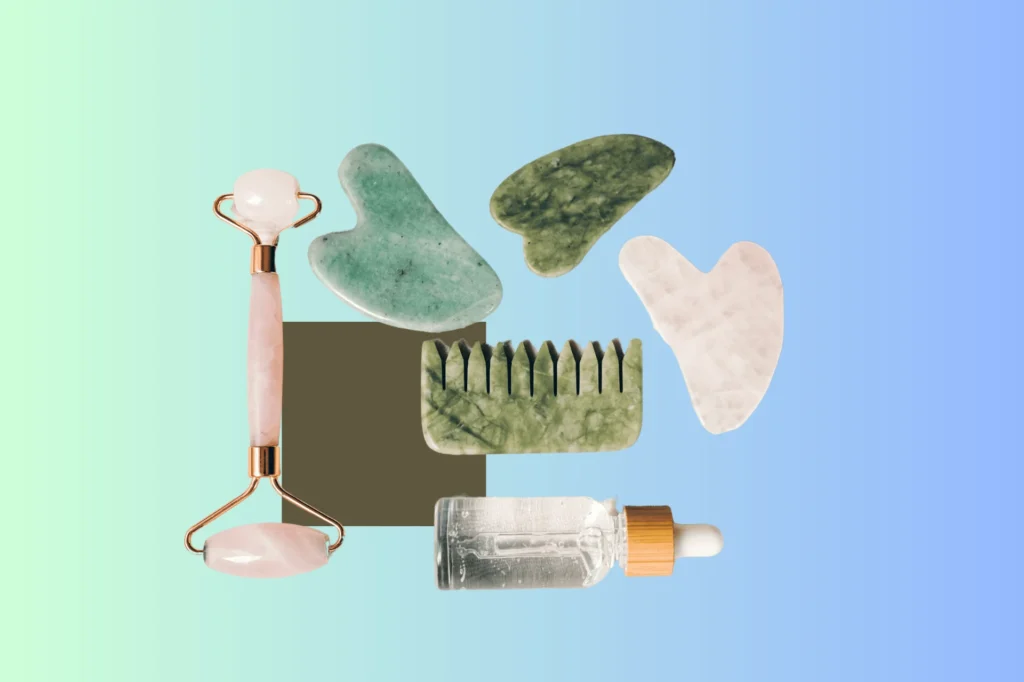
Facial Gua Sha has taken the skincare world by storm—and for good reason. Rooted in traditional Chinese medicine, this gentle scraping technique not only lifts and sculpts your face but also boosts circulation, encourages lymphatic drainage, and enhances your natural glow. Whether you’re new to skincare or a seasoned beauty enthusiast, learning how to use facial Gua Sha correctly can transform your daily routine.
What Is Facial Gua Sha?
Facial Gua Sha is a modern adaptation of the ancient Chinese healing technique “Gua Sha,” traditionally used on the body to release muscle tension and increase circulation. The facial version is far more delicate and utilizes a smooth-edged tool—typically made of jade or rose quartz—to massage and contour the face.
“Gua Sha is not just about aesthetics—it’s a form of self-care that connects beauty with wellness.” – Dr. Ping Zhang, Ph.D., Traditional Chinese Medicine Practitioner.
Benefits of Facial Gua Sha
Here are some of the primary benefits you can expect with regular use:
| Benefit | Explanation |
|---|---|
| Sculpted Features | Helps define jawline, cheekbones, and brow area. |
| Glowing Skin | Increases blood flow for a radiant complexion. |
| Decreased Puffiness | Aids lymphatic drainage to reduce swelling. |
| Tension Relief | Relaxes facial muscles and alleviates tension-related headaches. |
| Enhanced Product Absorption | Helps skincare products penetrate more deeply. |
Tools You’ll Need
- Gua Sha tool: Common materials include jade, rose quartz, or stainless steel.
- Facial oil or serum: To provide slip and prevent tugging.
- Mirror: To guide your movements.
How to Use Facial Gua Sha (Step-by-Step)
Step 1: Prep Your Skin
Start with a clean face. Apply a generous amount of facial oil or serum to create a smooth surface.
Step 2: Begin at the Neck
Use upward strokes, starting from the base of your neck up to your jawline.
Step 3: Jawline & Chin
Glide the tool from the center of your chin outward to your earlobe. Repeat 5–10 times.
Step 4: Cheeks
Move the tool from the side of your nose out toward your ear, following the contour of your cheekbone.
Step 5: Under-Eye Area
Gently sweep from the inner corner of the eye out to the temple. Use light pressure here.
Step 6: Forehead
Stroke upward from your eyebrows to your hairline, then from the center of your forehead outward.
Step 7: Clean Your Tool
Wash your Gua Sha tool with warm water and gentle soap after every use.
Pro Tips for Best Results
- Use 3–4 times a week for visible results.
- Keep the tool flat against the skin, not perpendicular.
- Store your Gua Sha in the fridge for a cooling effect that helps reduce puffiness.
- Be consistent but gentle—no need to press hard.
Where to Buy a Quality Gua Sha Tool
A quality tool can make all the difference. Look for authentic materials and well-polished edges. Trusted options are available at stores like Mount Lai or health shops like Sephora, Ulta Beauty, and Cult Beauty.
Real User Experience
“After using Gua Sha for just two weeks, I noticed my jawline was more defined and my skin had a natural glow. It’s like a mini face-lift at home!” – Maria K., 32, skincare enthusiast.
Q&A: Your Gua Sha Questions Answered
Q1: How often should I use facial Gua Sha?
A: You can use it 3–5 times a week. Daily use is safe as long as you’re gentle.
Q2: Can Gua Sha cause bruising?
A: If done too aggressively, yes. Always use light pressure and glide gently.
Q3: Is Gua Sha suitable for all skin types?
A: Yes! It’s safe for all skin types, but those with sensitive or acne-prone skin should consult a dermatologist first.
Q5: Can Gua Sha replace Botox or fillers?
A: While Gua Sha enhances natural sculpting and glow, it doesn’t provide the same effects as injectables. It’s best used as a complement to other treatments.


